The new app model has a lot of benefits, especially for Web Developers who are writing solutions for Microsoft SharePoint Server 2013 or SharePoint Online. A very common request of Line-of-Business (LOB) apps is that actions in SharePoint lists shall trigger special operations, for example to start a workflow or to exchange data with other, external systems.
This can be accomplished with "Remote Event Receivers" in SharePoint. With SharePoint 2013 the new concept uses Azure ServiceBus to transport events and data between the SharePoint Server system and a remote App (which while developing usually is running on "localhost").
For developers it's very important to debug code during the development process. Since this is not possible by default with Remote Event Receivers I want to pint out how to accomplish this task and how to setup the (ServiceBus) environment for debugging your own SP apps.
Why is this necessary? Well, Microsoft changed the user experience in the Azure portal for Service Bus namespace creation, see the details in this blogpost here. The short story is that new created Service Bus namespaces in the Azure portal only have SAS authentication enabled by default (which is used by the the majority of use cases). The accompanying ACS namespace is not automatically created.
What's the default in the Azure Portal
This is how it looks like when you would create a new ServiceBus namespace in the Azure Portal.
Again, that's not what we need for debugging our App, just to point out the difference...
In the ServiceBus area click "Add" in the menu bar, enter a namespace name, the region and the type and tier:
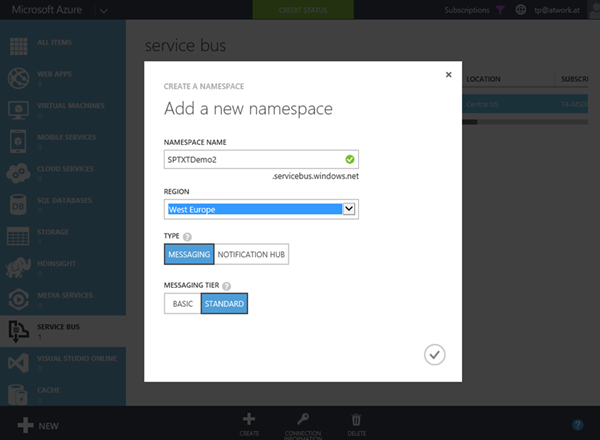
After the ServiceBus was created (this takes just some seconds), look into the connection properties.
Under "ACS" the dialog says: "Looking for ACS connection information? Please see here for more information regarding using ACS with Service Bus."
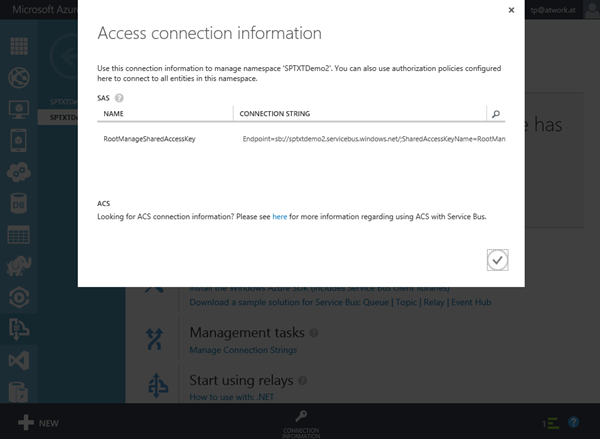
ACS features provide claims and federation capabilities and these are necessary for debugging.
The essence of the story is this definition:
"In order to create a new namespace (with ACS) in PowerShell use the cmdlet New-AzureSBNamespace."
We need to create a new ServiceBus namespace with Azure Powershell.
How to create a new ServiceBus namespace with ACS enabled
You need to have an Azure Subscription and to have the Azure PowerShell installed. This can be done with the Web Platform Installer (WPI), you get from http://microsoft.com/web.
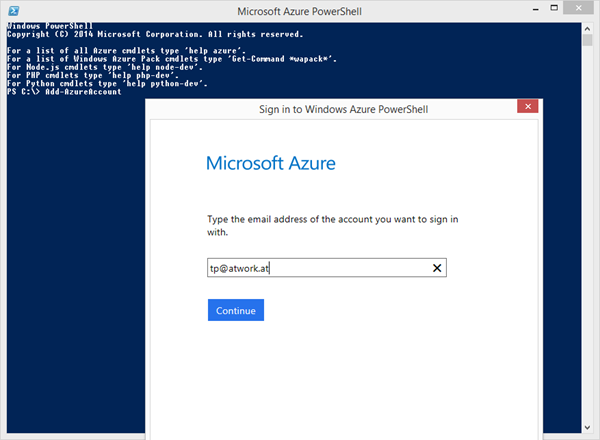
Start the Azure PowerShell and connect to your Azure subscriptions.
Add-AzureAccount
You need your Microsoft Account or your Organizational Account to login. This takes a while.
If the login was successful the output shows all your Azure subsciptions and your Azure tenants - but only the GUIDs. We need the corresponding names, so we want to list the subsciptions:
Get-AzureSubscription
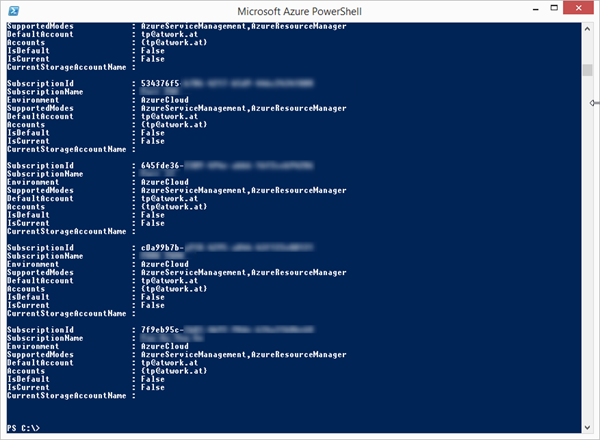
Copy the name of the subsciption where the Azure ServiceBus shall be created and select the subscription with it's name:
Select-AzureSubscription "MySubscriptionname"
The last command creates a new ServiceBus namespace: Use your desired name here.
New-AzureSBNamespace 'MyEventReceiver' -CreateACSNamespace $True -NamespaceType Messaging -location 'North Europe'
The default location would be "Central US", so it's a good idea to add the -location parameter here. The ouput delivers the necessary data for your SP App and looks similar like this:
Name : MyEventReciever
Region : North Europe
DefaultKey : Pq6YAYcb....
Status : Active
CreatedAt : 17.04.2015 12:02:00
AcsManagementEndpoint : https://sptxtdemoeventrecieverservicebus-sb.accesscontrol.windows.net/
ServiceBusEndpoint : https://sptxtdemoeventrecieverservicebus.servicebus.windows.net/
ConnectionString : Endpoint=sb://sptxtdemoeventrecieverservicebus.servicebus.windows.net/;SharedSecretIssuer=owner;SharedSecretValue=Pq6YAYcb....
NamespaceType : Messaging
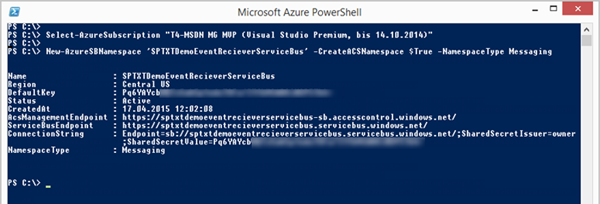
We need the ACS Endpoint for our SP EventReceiver App. Now - of course - you also get this connection string in the Azure Portal. If you check this in the Azure Portal it looks similar like here:
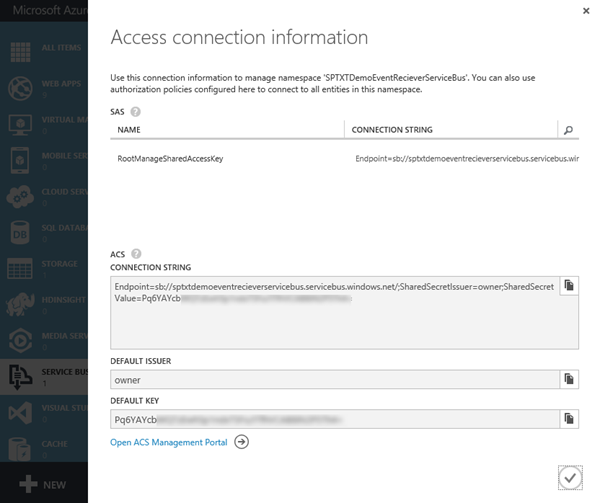
The difference to a created ServiceBus namespace in the Azure Portal is that this PowerShell created Servicebux namespace is ACS enabled - and has a connectionstring.
Use the ServiceBus with ACS in your App
So we copy & paste this ServiceBus-Endpoint into the "SharePoint" properties of our app.
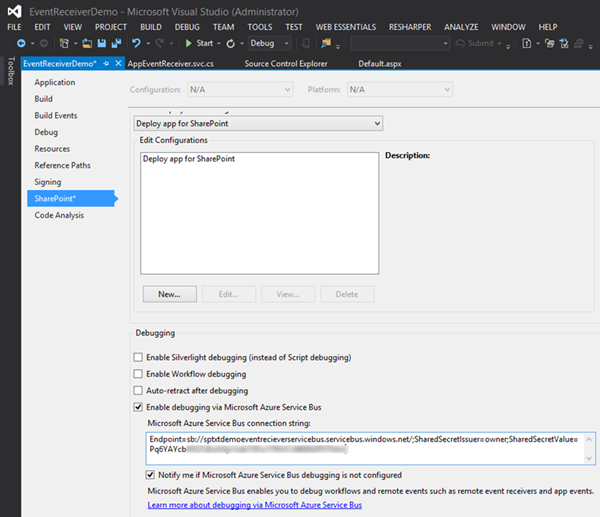
That's it. The ACS ServiceBus can now be used by the App.
Hint
When you have created an Azure ServiceBus with ACS enabled, you can use this ServiceBus for multiple Apps, it's not necessary to create a new one for each app. The Endpoint is reachable from anywhere with it's service address and can hold many EventReceivers. Also it's easily possible to change the Endpoint in the app properties anytime, you just need the correct connection string (with the address and the secret).
For developing a Remote EventReceiver App do not forget to set the permission of the app to "Web" and "Manage". In Part 2 we continue with developing the app.