In Delegate365 version 2.8 there´s a new setup wizard included (as announced here). With this function companies no longer need to create a (temporary) administrator user for doing the setup process of Delegate365 but instead can setup their Azure Active Directory on their own for working with D365.
Prerequisites
To configure your real company AAD with D365 you get two access information by atwork: The Setup-URL (which usually goes like http://<D365company>.azurewebsites.net/setup) and a configuration password (which is in fact a code) to give you the access for the setup process. This code is important and valid for this specific D365 appliance. With that code you can setup the service accounts till the code is changed. More about that later.
The prerequisites are that you also already have a valid Office 365 tenant (or any AAD) with a gobal admin account and password. This must be a global administrator in Office 365 (or AAD) otherwise the setup process will not work (see section errors).
Step One
Open the setup-URL. You see the first step of the wizard.
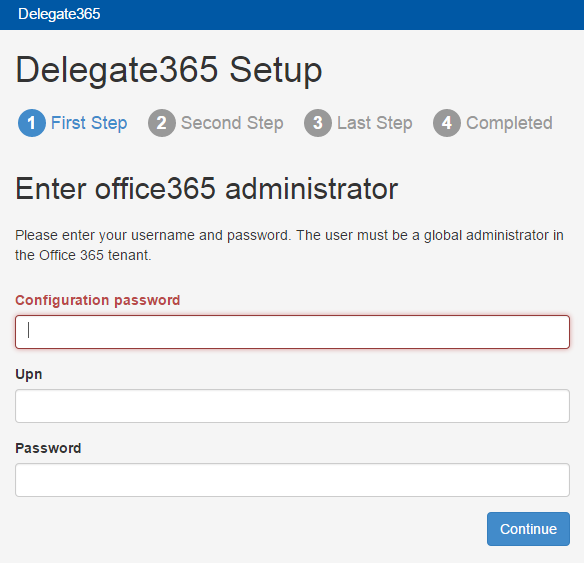
All fields are mandatory. Pls. fill in the configuration password provided by atwork and then enter the login name (the UPN) of your Office 365 tenant global administrator and the password like in this screenshot with a demo tenant.
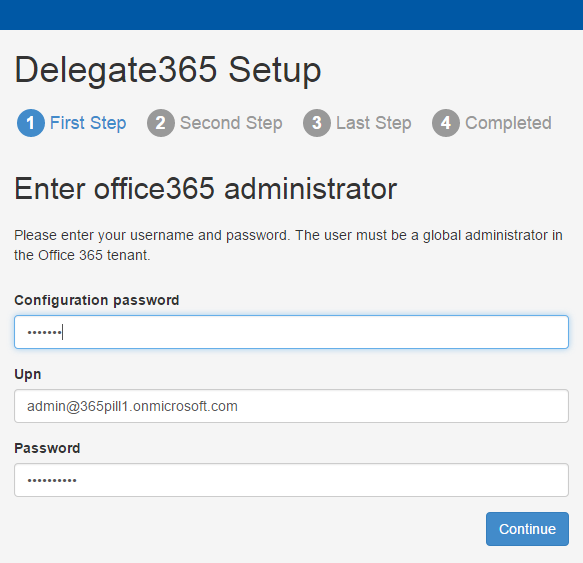
After that click Continue to proceed.
Second step
In the second step you can define which Exchange Administrator account shall be used. In many cases the same admin account is used for accessing Exchange services (f.e. for Distribution Lists, Alias, Shared Mailboxes, Notifications, etc.).
If that´s the case, leave the switch "Use office365 administrator" checked- you don´t need to specify any other account. If not, pls. fill in the login and password of the desired Exchange account.
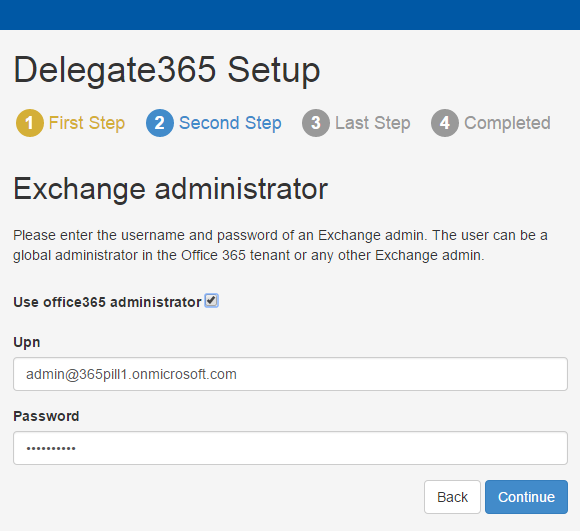
Click Continue. (Data provided in step 2 and step 3 can be changed later in the D365 portal too.)
Third Step
The same applies to third step three. For accessing reports from Exchange services you can provide an extra Exchange account or simply use the same credentials as in step two (or even step one). By default the account from step one is used. If you want to change that click the corresponding checkbox or fill out an extra account with login user and password. This account must at least have read access to the Exchange services.
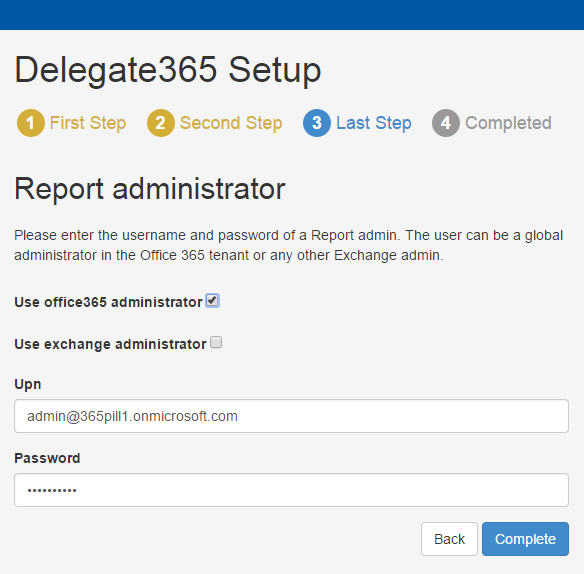
Click Continue.
Provisioning
After clicking "Complete" in step three you see a spinning wheel and the form goes inactive. The wizard now connects to the AAD and creates a new Service Account called Service Principal Name (SPN). The SPN, the Exchange and Reporting Credentials are encrypted and saved to the new D365 database.
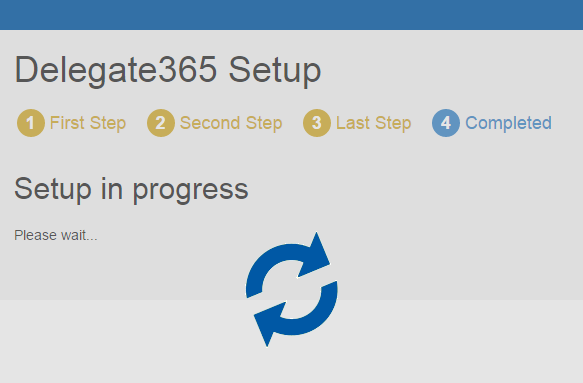
Since the creation of the Service Account can take some time pls. wait till the setup is finished.
Setup completed
After about a minute or so the form goes active again and the wizard shows the result of the provisioning process which usually says "Setup completed".
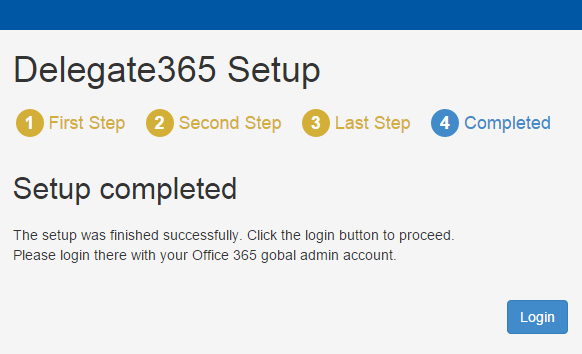
The setup is done. D365 can be used now. Click Login.
Use Delegate365
After the Setup is done pls. login with your global Admin account (the one you provided in step one above).
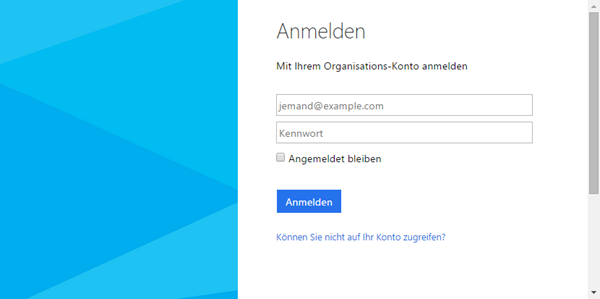
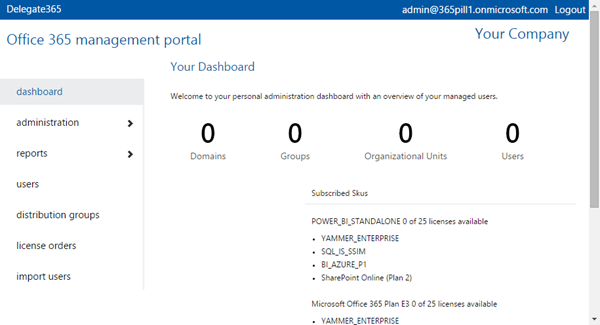
After the successful login Microsoft redirects to the D365 portal which will be loaded. The portal will look like here (with no users, domains and OUs).
Continue the setup in D365
The next steps are to change your company information and go thru the steps of the administration (like creating OU´s, creating admins and define their rights and so on). For more information pls. have a look here: http://delegate365.com/videos/ (Videos 1 to 3).
To get all your current data from Office 365 into D365 open the administration menu and click the menu Sync (which is an extended feature starting with D365 version 2.9). In that page start the synchronization manually to fill the users, licenses, groups and other important data from Office 365 into D365. Depending on the number of objects which have to be synced this action can take seconds up to hours.
Setup Error?
If something goes wrong and the process as described above does not work, try to start again with step one and retry the whole process. Depending on the Microsoft Webservices we saw that the setup process usually takes about 1 to 2 minutes. In some cases the setup was quick, but then it took about 10 minutes till D365 could be used because the provisioning obviously was still running in the background and the AAD was not updated. Working with cloud services sometimes can take time. So our recommendation in such cases is to wait for some minutes and then retry the login (or the setup process).
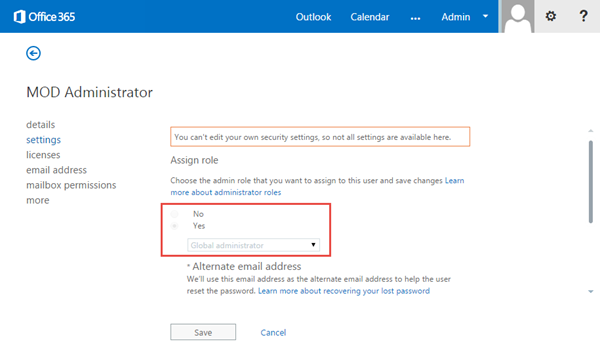
Ensure that the account you are using in step one is a Office 365 administrator. You can do so in the Office 365 portal https://portal.microsoftonline.com/ and check the role in there. The admin user must have the role "Global administrator" set like in this screenshot.
In case of problems pls. contact the support team of atwork.
Expiration
Attention: The Service Account used by D365 is usually only valid for one year. This is defined my Microsoft. So after one year you (or atwork) have to renew the service account (SPN). Do this with exactly these setup-steps and run the wizard again. With this method a new Service Account is created and inserted into the D365 database and D365 can work on. Therefor, at that time, you need to have a valid configuration password and the global admin again. In case you didn´t store the setup code pls. contact atwork for getting a new code.
Happy start with D365 setup wizard!