In part 1 we created a Ghost blogging platform in Windows Azure by clicking next-next-finish. Now let´s use this blog system. When calling the blog URL you get a welcome post message with the first information you need:
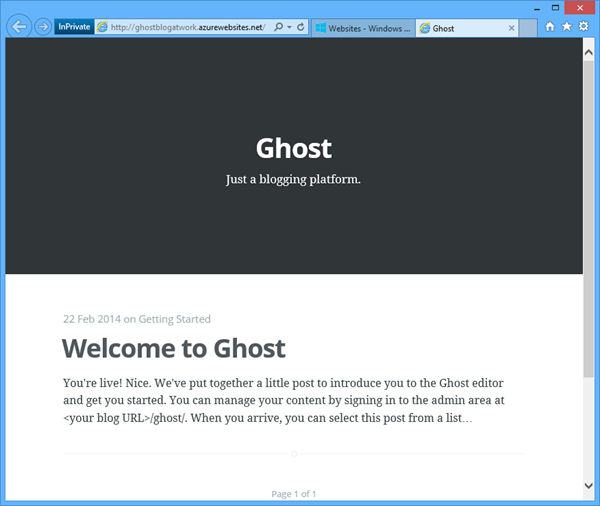
It´s the URL for the content mangement: <your blog URL>/ghost/
...at the first call you land at the signup form which looks like this:
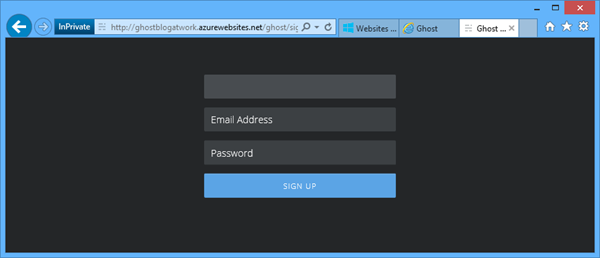
Fill in your Full Name as the name you want to appear as the author of blog posts and choose your email and a strong password. Then click "Sign Up". Here we go!
In the Content menu there´s a list of all blog posts. To add a new post, click the green + - Symbol. To edit an existing blog post simply click on it and click the Edit - Symbol in the upper right corner.
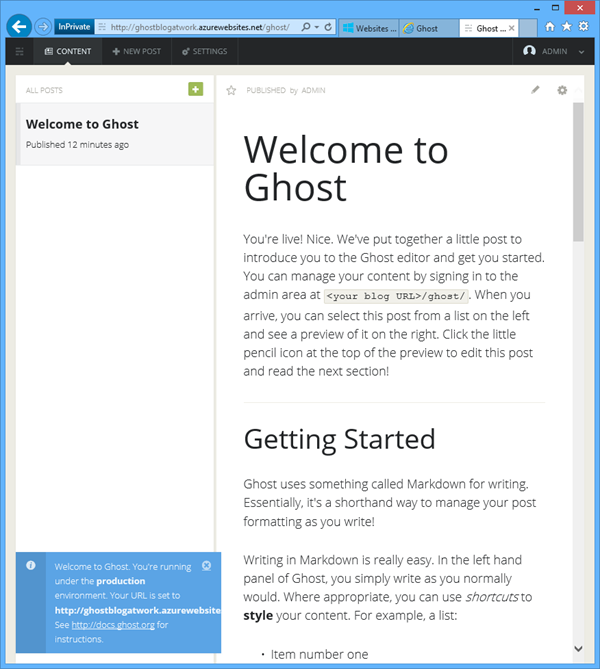
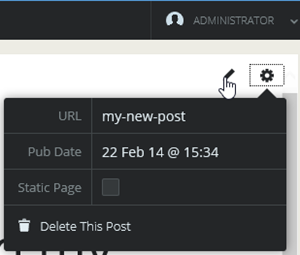
In the settings you can define the publishing date of a (saved) post and delete the post.
Ghost is easy. The essential information for using this platform goes like this:
"Writing in Markdown is really easy. In the left hand panel of Ghost, you simply write as you normally would. Where appropriate, you can use shortcuts to style your content."
So it´s all about publishing. Let´s start with some text - and formatting.
Depending on your screen resolution you see the sections Markdown and Preview side by side or as clickable tabs. Use them to switch between edit and preview mode.
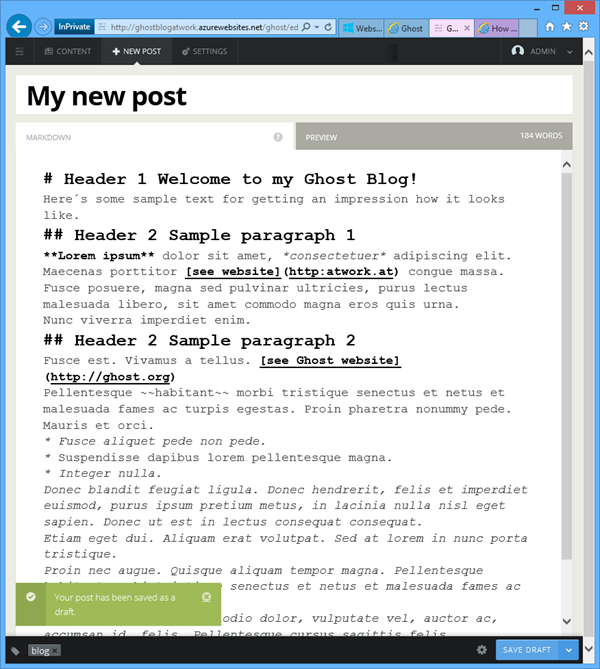
Blog posts in Ghost are written with Markdown elements. Markdown is a minimal syntax for marking up documents with formatting. The formatting takes place while writing and works like this for the main formattings (taken from http://docs.ghost.org/usage/writing/):
- H1 :
# Header 1 - H2 :
## Header 2 ...up to Header 6 - Links :
[Title](URL) - Bold :
**Bold** - Italic :
*Italic* - Paragraphs : Line space inbetween paragraphs
- Lists :
* An asterix on every new list item - Quotes :
> Quote - Code :
`code` - HR :
==========
Well, you get all the guides online here: http://docs.ghost.org/ and in http://docs.ghost.org/usage/
The good thing: With using Windows Azure you can skip all installation settings!
When clicking the ?-Symbol right of your Markdown you get a quick reference of the Markdown code and the key shortcuts:
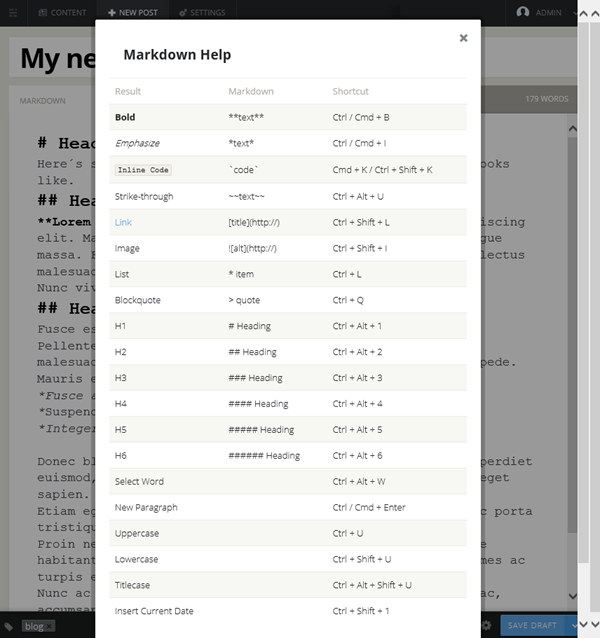
My tip: Working with the shortcuts is really fast.
To insert an image into your post, you need to press CTRL + SHIFT + I - or enter ![]() into the Markdown editor.
Now switch to the Preview section where your see an image upload box. Here you can drag and drop any image from your file system (.png, .gif, .jpg) over the box - or use the standard upload file picker.
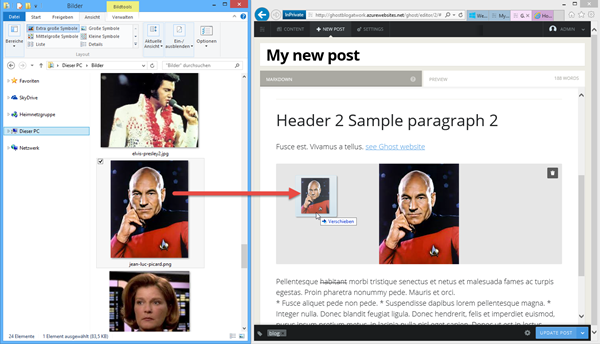
For saving and posting use the buttons and settings on the right bottom corner, for tagging the tag symbol in the bottom left corner like in this screenshot.

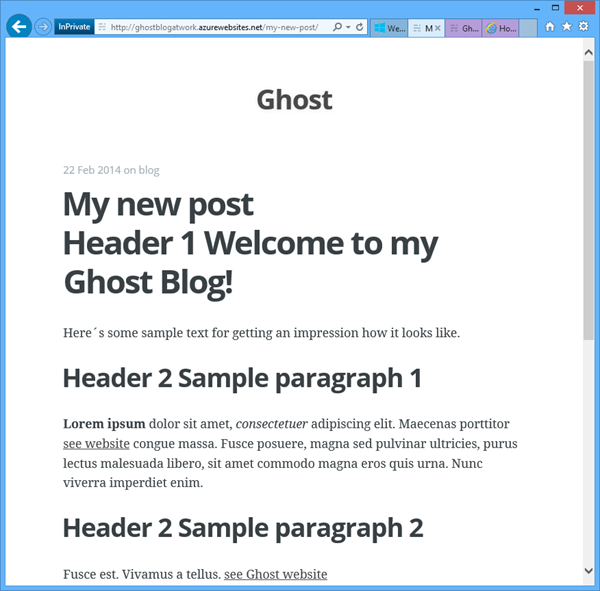
The published article is now visible in your blog:
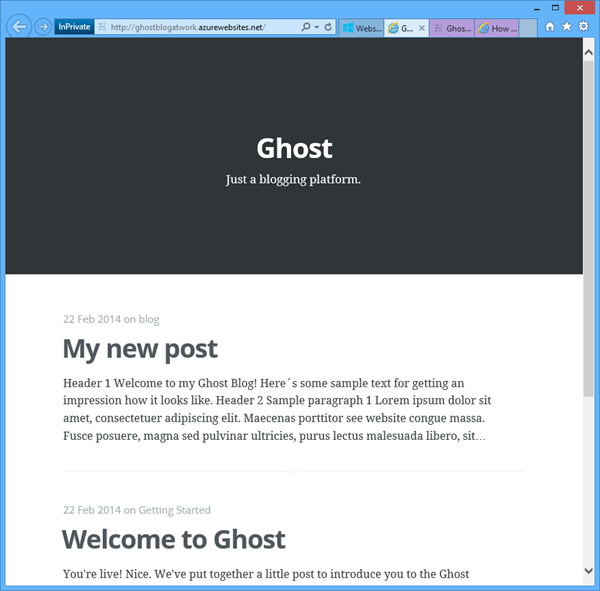
...and looks straight forward:
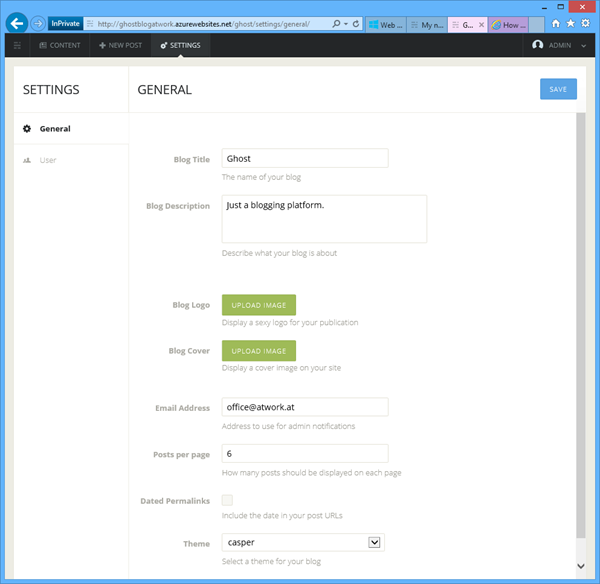
Of course there are some (basic) settings and a user management:
So, Ghost is a relly quick and fast blogging system - without the need of knowing HTML.
Simply write, format a little bit and publish your content online into your responsive blog.
Easy going. 