One of the most common requests I hear from Power Apps makers is:
“Can I upload multiple files at once?”
Out of the box, Power Apps doesn’t make this easy. The standard attachment control works for forms, but if you want a clean, reusable component for multiple file uploads, you need something better. That’s where the PCF Gallery comes in.
So, this is a quick look at a free PCF component that makes multi-file uploads effortless.
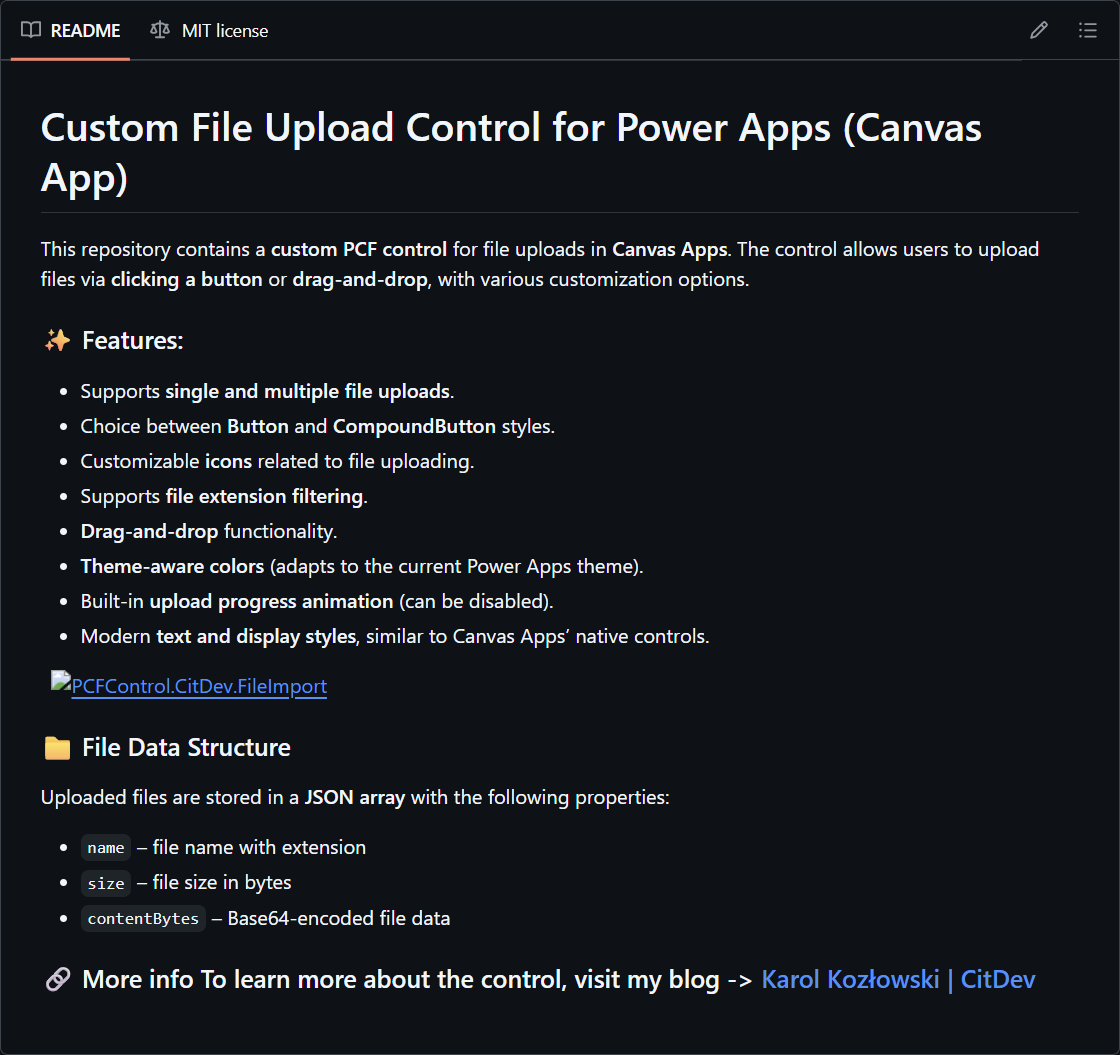
Recently, I explored pcf.gallery - a fantastic community-driven collection of free Power Apps components. Among the gems, I found FileImport by Karol Filip Kozlowski at PCFControl.CitDev.FileImport. This control does exactly what I needed: drag-and-drop or select multiple files, and get their data in JSON format. Simple, elegant, and powerful.
Setting It Up
The installation was straightforward in three steps.
Requirements in the environment:
- Ensure that PCF controls are allowed in your Power Platform environment aka.ms/PPAC.
- See the following steps and here
- Go to Power Platform Admin Center → Environments → select your environment.
- Under Settings → Product → Features, turn on: Power Apps component framework for canvas apps and save the changes.
- This allows code components (PCF) to run inside canvas apps.

Now install the PCF component in the environment so that all Power Apps can use it:
- Download the PCF component: CitDev.FileImport.zip from PCFControl.CitDev.FileImport 1.0.0
- Import the solution into your environment

Then we can insert the component:
- Open the Insert (+) menu and click on the Get more components folder icon as shown below.
- In the panel, click on tab Code and select the Fluent File Import Control (1.0.0)
- The section Code comoponents now shows the File Import control.
- Now drop the control onto your canvas

Use the file upload control in an Power App
Now we can configure the app and the properties and use the control.
To see it in action, I built a quick demo app (screenshot below). The app has three steps:
- Upload files using the PCF control
- Process the JSON output (parse and display it)
- Upload or store files wherever you need

The control has this default name: FluentFilesImportControl1. It allows to drag and drop multiple files onto the control. Alternatively, a user can click on the control and a file upload box opens.
We can use the OnChange event of the control, or use an extra button Process to work with the uploaded files. We can access the file data from the FluentFilesImportControl1.FilesAsJSON property.
I uploaded 2 very small text files. The control outputs a JSON array with file details:
[
  {"name":"file1.txt","size":5,"contentBytes":"data:text/plain;base64,Um90DQo="},
  {"name":"file2.txt","size":7,"contentBytes":"data:text/plain;base64,R3LDvG4NCg=="}
]
This is perfect for processing files in Power Apps or sending them to a Power Automate flow.
The control gives you everything: file name, size, and base64 content. I displayed the raw JSON for transparency and then parsed it into a neat gallery list. Seeing the files appear instantly after upload feels great.
This is the Power Apps code in btnProcess:
// Show the raw JSON data in a text box:
Set(files,FluentFilesImportControl1.FilesAsJSON);

// Convert JSON string to a typed collection to show it in a gallery
ClearCollect(
    colFiles,
    ForAll(
        Table( ParseJSON( FluentFilesImportControl1.FilesAsJSON ) ) As r,
        {
            name: Text( r.Value.name ),
            size: Value( r.Value.size ),
            contentBytes: Text( r.Value.contentBytes )
        }
    )
);
In my sample app, the text box has Text property set to my object variable files.
The Gallery control has Items property set to my table variable colFiles, and the table columns set in the Fields properties.
This generates the output shown above.
Use a flow to store the files
The flow UploadFileToSharePoint shall be executed for each uploaded file to save it to a SharePoint document library. As trigger, we have 2 text parameters: FileName and FileContentBase64 (in code these parameters are named text and text_1 by default).
The Flow should receive two text inputs:
- filename: e.g., report.pdf
- content: the pure Base64 string.
A base64 encoded string has the following syntax. This means, we can split the base64-string by the comma character “,” to get the content-type and the data.
data:[<media-type>][;base64],<data>
Note: For using our upload component, this means that the orignal base64 encoded file content must be converted. We will do this in the flow.
"data:text/plain;base64,Um90DQo="
to
"Um90DQo="
After the Power Apps trigger action that reads the parameters, we create a new SharePoint file. To send over the ocrrect data, we convert the file content string to a binary object without the media-type with the flow´s split() function as here:
base64ToBinary(
  replace(
    replace(
      trim(
        last(
          split(triggerBody()?['text_1'], ',')
        )
      ),
      ' ', ''
    ),
    decodeUriComponent('%0A'), ''
  )
)
What it does:
- last(split(…, ‘,’)) → get the part after the comma (pure Base64).
- trim(…) → remove leading/trailing spaces.
- replace(…, ’ ‘, ‘’) → strip any spaces that might have crept in.
- replace(…, LF, ‘’) → remove line feeds (%0A is \n). (We can use ‘%0D’ for CR etc…)
- Finally base64ToBinary(…) → convert to bytes for SharePoint.
In the Create file action, we pass these values as converted above directly to the SharePoint connector. In code view, this looks as here:
  "inputs": {
    "parameters": {
      "dataset": "https://[my-tenant9.sharepoint.com/sites/Demo",
      "folderPath": "/UploadedFiles",
      "name": "@triggerBody()?['text']",
      "body": "@base64ToBinary(\r\n  replace(\r\n    replace(\r\n      trim(\r\n        last(\r\n          split(triggerBody()?['text_1'], ',')\r\n        )\r\n      ),\r\n      ' ', ''\r\n    ),\r\n    decodeUriComponent('%0A'), ''\r\n  )\r\n)\r\n"
    },
  }
So this is the full flow.

As Respond action we use the output values from the SharePoint action: for further processing if required.
"body": {
  "filename": "@{triggerBody()?['text']}",
  "itemid": "@{outputs('Create_file')?['body/Id']}",
  "path": "@{outputs('Create_file')?['body/Path']}"
}
Finally, upload the files to SharePoint
Back in the Power App, we add that flow in the left menu Power Automate and add UploadFileToSharePoint to the app.

To simply test the flow with a single file and text content, we can use this call:
UploadFileToSharePoint.Run("file1.txt",Text("data:text/plain;base64,Um90DQo="));
In our sample btnUpload shall execute the flow for each file and upload the file to a SharePoint library. The code loops through all uploaded files in colFiles and sends the file and the content to the flow.
This is the full code for btnUpload including a file-check and a Notify-messages:
If(
    IsEmpty(colFiles),
    Notify("Please add and process at least one file before uploading.", NotificationType.Warning),
    ForAll(
        colFiles As f,
        UploadFileToSharePointContent.Run(
            f.name,              // filename (include extension, e.g., .pdf)
            Text(f.contentBytes) // full data URI or pure base64 (Flow handles it)
        )
    );
    Notify(
        "Upload triggered for " & CountRows(colFiles) & " file(s): " &
        Concat(colFiles, name, ", "),
        NotificationType.Success,
        8000
    )
)
When we run the code in the Upload button, we should see that the flow is executed for each file. As result we see the uploaded files in the SharePoint library:

Why This Control Rocks
- Multiple files at once – no more one-by-one uploads
- Clean JSON output – easy to integrate with flows or APIs
- Drag-and-drop support – user-friendly experience
- Free and open source – thanks to the amazing Power Apps community
If you’ve ever struggled with file uploads in Power Apps, this component is a game-changer. It saves time, simplifies your app design, and opens the door for advanced scenarios like document processing or bulk imports.
If you want to try it yourself (or see more PCF controls or contribute), head over to pcf.gallery and grab the FileImport control. It’s one of those small things that make a big difference in app usability.
Happy developing!